
Crown Molding Gaps In Your Living Room Corners
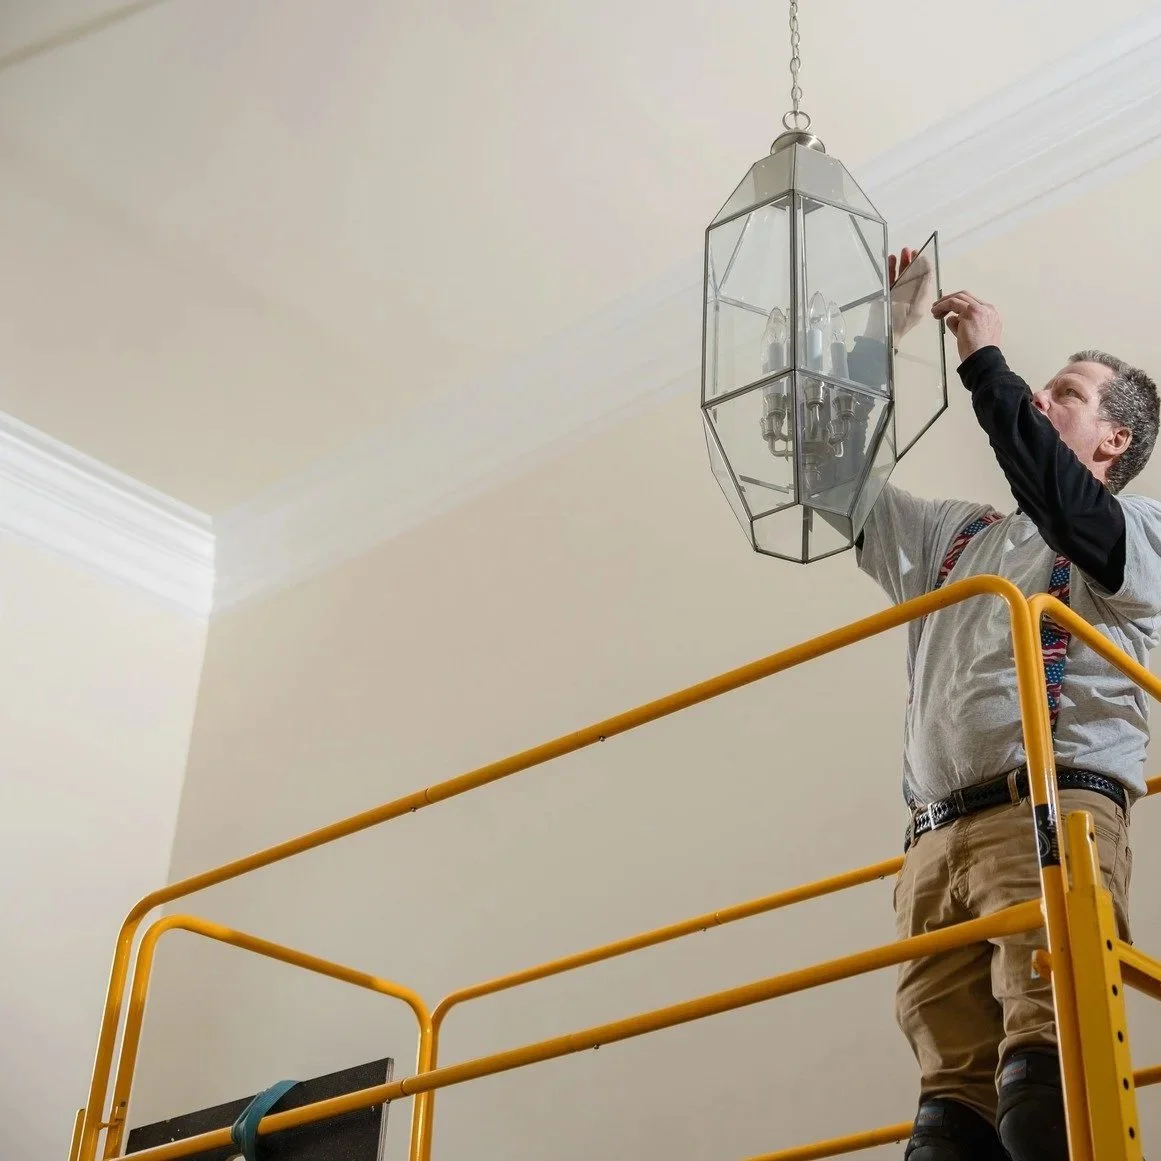
Professional crown molding work requires the right tools, experience, and access equipment to get clean, gap free results in corners and along ceiling lines.
You finally paint the living room, step back, and those ceiling corners still look crooked and unfinished. Every time the afternoon light hits that seam above the couch, it throws a shadow that makes the whole room feel slightly off and cheap.
After years inside other people's homes, we can tell you crown molding installation is one of those upgrades that looks simple from the floor, but gets complicated the second you start cutting material. Homeowners call a professional when they are tired of staring at uneven ceiling lines, visible drywall joints, or that awkward gap where the wall meets the ceiling. They thought a quick weekend project would fix it. Instead, they ended up with misaligned corners, cracked joints, and more frustration than before.
Crown molding installation is not just decorative trim work. Done right, it reshapes how a room feels. Done poorly, it highlights every flaw in your walls and ceilings and becomes the first thing your eye goes to when you walk in.
When People Say "It's Just Trim" And Regret It Later
A common mistake is the assumption that crown molding installation is just cutting boards at an angle and nailing them up. Homeowners watch a few videos, rent a miter saw, and figure it cannot be that different from baseboards. The difference is gravity and geometry. Crown molding sits at an angle between the wall and the ceiling, which means every cut depends on precise spring angles, compound miters, and walls that are rarely perfectly square.
Most homes, even newer ones, have subtle framing shifts. Ceilings bow slightly. Corners run a degree or two off 90. During crown molding installation, those small imperfections stack up. If you cut everything assuming perfect geometry, gaps appear at the joints. Homeowners often try to fill those gaps with caulk, thinking paint will hide it. Over time, seasonal expansion and contraction reopen those seams, and the once "finished" room starts to look tired again.
Crown molding installation requires reading the room before cutting the first piece. Professionals check wall straightness, ceiling level, and corner angles before even discussing profiles. Skipping that step is the shortcut that leads to cracked joints, visible filler, and constant touch-ups.
"Why Do My Crown Molding Corners Always Gap?"
That question comes up in searches all the time, and it usually follows a frustrating DIY attempt. Gapped corners occur because the inside and outside corners are rarely true 45-degree angles. Most homeowners measure once, set the saw at a standard setting, and cut. When the two pieces come together, a sliver of daylight shows through.
Professional crown molding installation handles corners differently. Instead of relying solely on mitered joints, professionals cope with inside corners. Coping involves cutting one piece to a square shape and shaping the profile of the adjoining piece to fit it tightly against the square piece. Many homeowners misunderstand coping because it feels old-fashioned. In reality, it allows the joint to stay tight even if the wall shifts slightly over time.
Ignoring proper corner techniques does more than create a cosmetic issue. Gaps allow movement. Movement leads to cracked paint lines. In rooms with fluctuating humidity, like kitchens or bathrooms, those cracks can widen faster than you expect. Over a few seasons, what started as a tiny seam becomes a visible separation that draws attention every time someone looks up.
Material Choices That Change Everything
Crown molding installation is not just about style. Material selection affects how the installation performs over time. Homeowners often choose based solely on price. They see a lightweight composite option and assume it will behave the same as solid wood. In some rooms, that assumption works. In others, it creates headaches later.
Solid hardwood crown molding reacts to humidity. It expands and contracts with seasonal changes. In a climate-controlled space, movement stays manageable if the installation accounts for it. If you fasten it too rigidly or skip acclimating the material to the room before cutting, joints can separate. On the other hand, some composite materials resist moisture but dent more easily and may not accept paint as well as traditional wood.
Crown molding installation should match the room's conditions. A dining room with steady temperature behaves differently from a laundry room that sees humidity spikes. When homeowners ignore that difference, they end up with warped sections or loose corners that need to be revisited within a few years. Choosing the right material is not about luxury. It is about how the molding will age in your specific home.
Lighting Reveals More Than You Think
One thing many homeowners do not anticipate is how lighting affects the installation of crown molding. Natural light from windows and overhead fixtures casts shadows along the profile. If the molding sits unevenly, even by a small margin, the shadow line exaggerates the flaw. There have been living rooms where the molding technically sits flush, but was installed without considering the main light source. The result looks wavy because the light highlights every minor dip in the ceiling.
During crown molding installation, a professional will think about how the room is used at different times of day. Morning light from one side can reveal a joint that looked invisible at night. That is why precise fastening and alignment matter so much. Shimming behind low spots and adjusting for ceiling variations keeps the shadow line consistent.
Ignoring lighting is not just about aesthetics. When the eye constantly catches irregular lines, it subtly affects how polished the room feels. Homeowners may not know exactly what bothers them, but they sense something feels unfinished. Proper crown molding installation takes those visual factors into account from the beginning.
Surface Prep Is Where Most Problems Begin
Before the crown molding installation starts, surface preparation makes or breaks the outcome. Homeowners often focus on cutting and forget the condition of the walls and ceiling. If drywall seams are loose or corners are slightly damaged, attaching molding directly over them locks in those imperfections.
Preparation includes checking for loose drywall tape, uneven paint buildup, and framing irregularities behind the surface. Skipping that inspection leads to sections that will not sit tight. Installers who rush may force the molding into place with extra nails, creating stress points. Over time, those stress points show up as cracks along the ceiling line.
Crown molding installation should start with a stable base. In older homes, especially, slight structural settling may have shifted corners over decades. Taking time to correct or compensate for those shifts prevents future callbacks and touch-ups. Shortcuts during prep rarely show up immediately. They appear months later when seasonal changes expose every weak spot.
Can Crown Molding Hide Crooked Walls?
Homeowners type that question into search bars, hoping for a magic fix. Crown molding installation can visually soften minor irregularities, but it is not a structural correction tool. If walls are significantly out of plumb or ceilings sag noticeably, molding will follow those lines unless adjustments are made.
Professional crown molding installation involves subtle adjustments. Shimming low areas, adjusting spring angles, and, in some cases, scribing the molding to match the surface. Homeowners who assume the molding will simply mask defects often feel disappointed when they still see uneven transitions.
Ignoring major irregularities can also create tension in the material. Forcing straight molding onto a severely bowed wall stresses joints and fasteners. Over time, that stress can cause separation or even nail pops. Crown molding installation works best when it complements the structure, not when it fights against it.
Where Shortcuts Show Up Years Later
In general, home repair and improvements, shortcuts usually hide behind fresh paint. Crown molding installation is no different. We have removed molding that looked fine from a distance but was attached with only a few fasteners, had misaligned joints, and had excessive filler behind the seams. It held up for a while, then humidity shifts and minor settling exposed the weak work.
Proper fastening means anchoring into framing where possible, not just drywall. Proper joint preparation means dry-fitting every piece before applying adhesive or nails. Homeowners rarely see those steps, but they feel the difference years later when their molding still looks tight and crisp.
Choosing a cheaper installer or rushing the job often results in subtle defects that become daily annoyances. You sit on the couch and notice the seam in the corner. You repaint the room and see the old crack reappear along the ceiling line. Crown molding installation should be a long-term improvement, not a recurring maintenance item.
Crown molding installation changes the visual weight of a room. It draws the eye upward, frames the ceiling, and gives walls a finished edge. When done with care, it adds architectural character without overwhelming the space. When done poorly, it becomes a reminder of corners cut and details overlooked.
Common Questions About Crown Molding Installation
How long does crown molding installation typically take?
Crown molding installation in an average-sized room usually takes a day or two, depending on complexity, ceiling height, and the number of corners. Larger rooms with multiple inside and outside corners require more measuring, cutting, and fitting. Time also depends on how much surface preparation is needed before the molding goes up.
Is crown molding installation worth it in a smaller room?
Crown molding installation can work well in smaller rooms if the profile size matches the space's scale. Oversized molding in a low-ceiling room can feel heavy, but a well-proportioned profile adds depth and visual interest. The key is choosing a style that complements the room rather than overpowering it.
Can I install crown molding over textured ceilings?
Crown molding installation over textured ceilings is possible, but the texture often needs to be scraped back where the molding will sit. Leaving heavy texture behind the molding can create gaps and uneven contact points. Proper prep helps the molding sit flush and reduces visible seams along the ceiling line.
How do I maintain crown molding after installation?
Crown molding installation does not require heavy maintenance, but occasional inspection helps. Small cracks at joints can be touched up with caulk and paint before they widen. Keeping indoor humidity levels relatively stable also reduces movement in wood molding and helps joints stay tight over time.
Precision Home Worx offers quality decks and porches, general carpentry and interior work, specialty and maintenance services, and plumbing and drainssolutions in Claymont, DE, and surrounding areas. Call us today for a free estimate/consultation. Our fully licensed and insured professionals deliver the best results. Get one-year warranty, reliable and prompt solutions, and competitive pricing with free estimates. Call now!

